DIY I Dos! Canva Wedding Invite Hacks
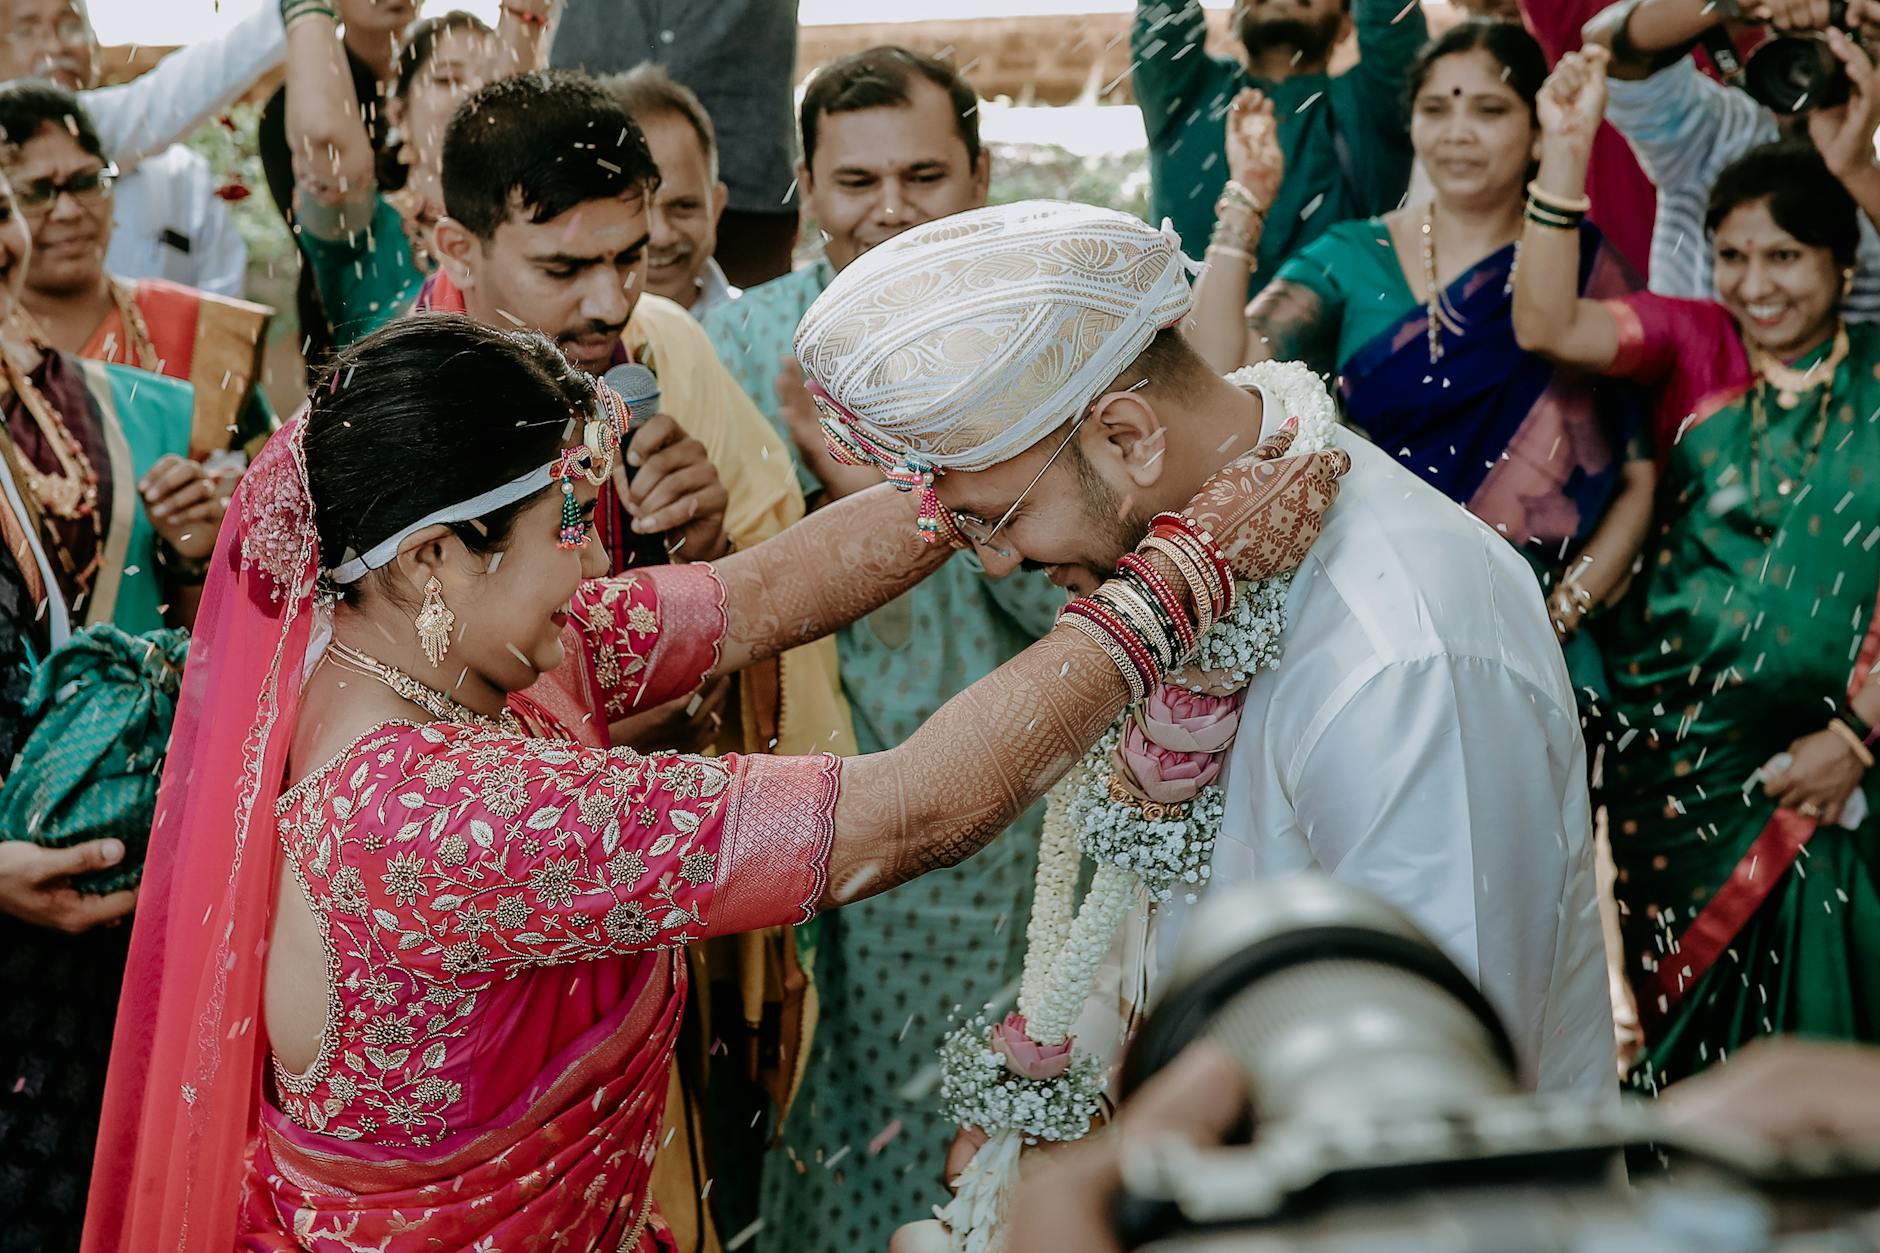
Creating your wedding invitations is a deeply personal and creative way to announce your special day. With Canva, designing these invites has become simpler than ever before. Whether you're a design novice or someone with a bit of creative flair, our guide will walk you through the tips and tricks of using Canva to craft stunning, personalized wedding invitations that capture the essence of your celebration. Let's get started on this joyful journey!
Getting Started with Canva
Before diving into the design process, you'll need a Canva account. Head to the Canvas website and sign up for free. Once you're in, take some time to familiarize yourself with the dashboard and various tools available.
Step 1: Choose Your Template
Canva offers a plethora of invitation templates crafted by professional designers. To find the perfect starting point for your invites:
- Click on the 'Templates' tab and search for 'wedding invitations.'
- Browse through the selection and choose a style that resonates with your wedding theme.
- Click on the template to start editing.
Step 2: Customize Your Design
Now that you've selected a template, it's time to make it your own.
-
Change the Text: Click on any text box to edit the wording. Use this opportunity to reflect on your voice and the details of your wedding. Don't forget essentials like the date, time, venue, and RSVP instructions.
-
Font and Color: Adjust the font styles and colors to match your wedding's color scheme. Highlight key details or add a touch of elegance with script or serif fonts.
-
Background Options: Experiment with the background colors and patterns, or upload a personal photo to serve as the backdrop for your invitation.
-
Element Library: Utilize Canva's extensive library of graphic elements to add decorative features like florals, borders, or icons that tie in with your wedding theme.
Step 3: Add Personal Touches
What sets DIY invitations apart is the personal touch they reflect.
-
Upload Your Photos: Integrate engagement photos or other personal images to add sentimental value to your invitations.
-
Custom Illustrations: If you're artistically inclined, upload your drawings or artwork to truly personalize the look.
-
Collaboration: Canva allows you to collaborate with your partner or wedding planner. Share your design and gather feedback to ensure the final product is a group effort.
Step 4: Finalizing Your Invitation
-
Proofreading: Double-check all text for spelling or grammatical errors. Ensure the date, time, and location are accurate.
-
Layout Consistency: Ensure all elements are aligned correctly. Use canvas grid and ruler tools to keep everything symmetrical and balanced.
-
Print a Test Copy: Before ordering all your invites, print a test copy. This will help you catch any issues with the color, size, or paper quality.
Step 5: Printing and Sharing
With your design complete, it's time to bring your invitations to life.
-
Download: Canva allows you to download your invitation in a variety of formats. For printing, a high-resolution PDF is recommended.
-
Print Options: You can either print your invitations at home or use a professional printing service. Consider the paper type and weight for a luxurious feel.
-
Digital Sharing: If you're going eco-friendly or prefer digital invites, use Canva to directly email your invitations or share them via social media.
Conclusion
Designing your wedding invitations with Canva is not only a cost-effective DIY project, but it also adds that unique, personalized touch that can't be replicated. This platform empowers you to unleash your creativity and set the tone for your big day. Remember, your wedding invitations are more than just paper and ink—they're a cherished keepsake that embodies the love and excitement of your journey to the altar. So go ahead, give Canva a try, and design an invitation as memorable as your wedding day will be.